SESYNC users can maintain local copies of data in their research data directory using the Nextcloud sync client. The sync client provides another way to put data into your research data directory, so it is accessible to colleagues with access to the same research data directory.
The first time you log in to Nextcloud, you will be prompted to install the sync client. This is optional. If you choose to install it at a later date, download the installer for Windows or macOS from nextcloud.com.
Install the desktop client on your Windows or macOS computer.
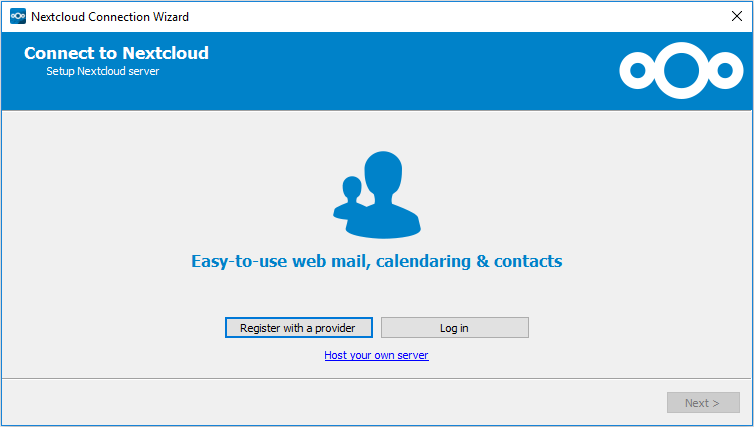
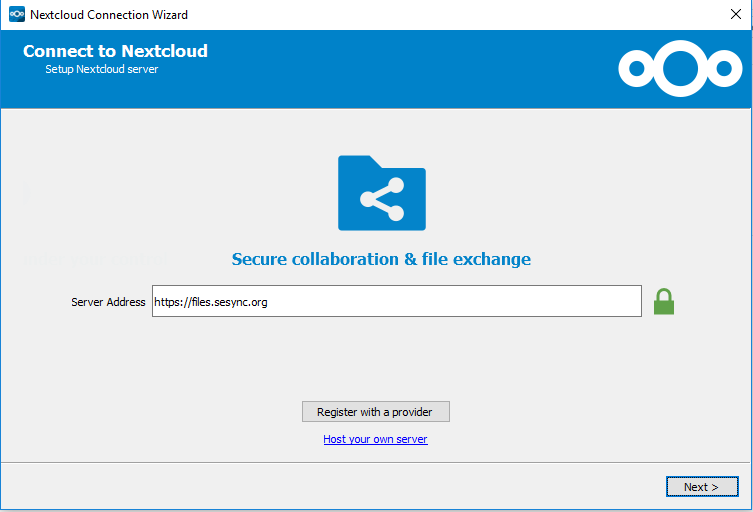
Open the Nextcloud application for the first time. You will be prompted to first Log in, and then configure a server.